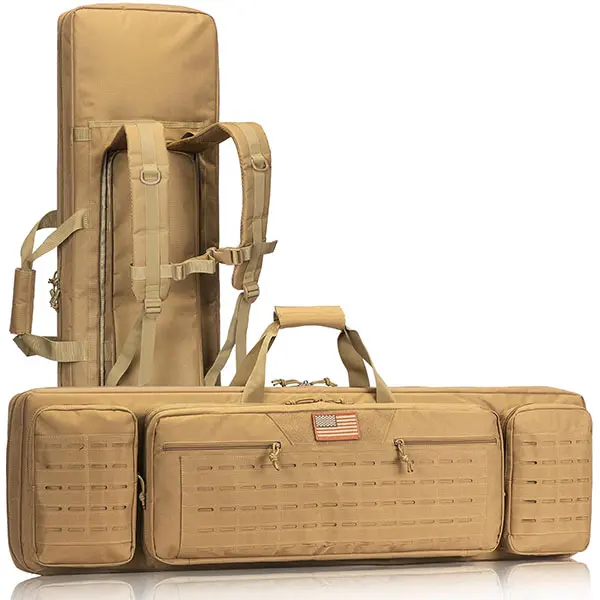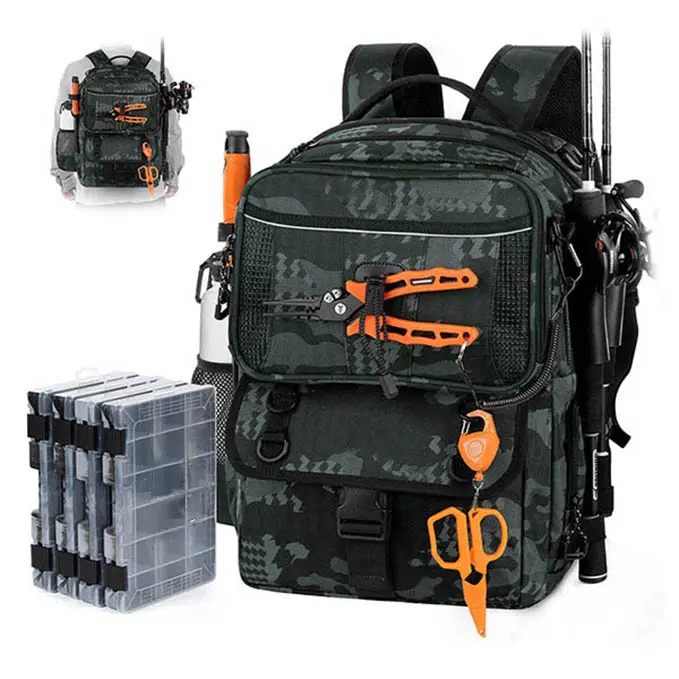
Most hiking backpacks are bought the wrong way round. A shopper reads the liter number first, compares prices, and only tests the fit once the pack has arrived. A long day on the trail then explains what the spec sheet never did: liters tell you how much the pack holds and nothing about how it will carry. A 30-liter pack sitting on the wrong part of your back will hurt by the second hour, while a 22-liter pack that fits properly disappears. The confusion starts early, because two numbers that look related are not—capacity in liters and backpack dimensions in cm describe entirely different things.
Your hiking backpack size comes from two measurements taken in a fixed order. Torso length decides which pack size fits your body, and trip type decides how many liters you need. Measure your torso from the C7 vertebra at the base of your neck to the top of your hip bones, match that number to the maker’s own size chart, then pick capacity from the trip you hike most often. Fit comes first, because no amount of strap adjustment fixes a torso-length mismatch.
This guide works through those decisions in sequence, then covers the spec details that determine what a custom hiking bag manufacturer can actually build.
Measure your torso before you look at capacity
Pack size is set by torso length, not height, build, or shirt size. Measure the straight-line distance from the C7 vertebra, the bony bump at the base of your neck, down the curve of your spine to the top of your iliac crest—the ridge you can feel at the top of your hip bones. Match that number to the sizing chart for the specific pack you are considering. Two people of identical height can differ by 5 cm and need different sizes, which is why the pack that fits your hiking partner may be wrong for you.
Measuring takes about two minutes and needs a helper. A flexible cloth tape works; a metal tape does not follow the spine.
- Stand straight and relaxed, feet together, arms down.
- Tilt your head forward and run a finger down the back of your neck to find the vertebra that sticks out further than the others. That is C7, and it is the top of the measurement.
- Put your hands on your hips the way you would if you were waiting for someone, then slide your thumbs back along the top of your hip bones until you find the highest point of the ridge. That line across your lower back is the iliac crest, and it is the bottom of the measurement.
- Have your helper measure the distance between the two points, keeping the tape in contact with the curve of the spine.
- Repeat the measurement twice and use the figure that comes up most often.
There is a rough estimate that multiplies your height by 0.27, and it is worth knowing only so you can ignore it. Published fitting notes put the error at up to 5 cm, which is the difference between a medium and a large.
Backpack torso size chart
These bands are the ranges most fitting guides publish. As a reference point, average adult torso lengths are commonly given as 42 to 48 cm for women and 46 to 52 cm for men.
| Pack size | Torso length (cm) | Torso length (in) |
|---|---|---|
| XS | 33 to 38 | 13 to 15 |
| S | 38 to 43 | 15 to 17 |
| M | 43 to 48 | 17 to 19 |
| L | 48 to 53 | 19 to 21 |
| XL | 53 to 58 | 21 to 23 |
Charts differ between makers, and the overlaps are where most fitting mistakes happen. Use the chart that belongs to the model you are evaluating, not a general one.
How to adjust backpack torso length
Adjustable harnesses move the shoulder straps up and down the back panel, either on a hook-and-loop panel or a ladder of slots. The adjustment changes where the strap anchors sit, not the pack’s capacity, so it is the one setting that can rescue a near-fit.
Set it in this order, with the pack loaded rather than empty:
- Loosen every strap, then fasten the hip belt with the padding centered on the iliac crest.
- Check the shoulder-strap anchor points. REI’s published fitting guidance puts them 1 to 2 inches below the top of the shoulders, roughly level with the top of the shoulder blades.
- If the anchors sit higher than that, the harness is too high for your torso. Move the panel down and retest.
- Retighten the shoulder straps, then the load lifters, then the sternum strap.
- Recheck after a few miles on the trail. Webbing settles and clothing compresses, so a fit set indoors usually needs a small correction outdoors.
If you land between two sizes, published fitting advice suggests using waist measurement as the tiebreaker. Narrower hips usually favor the smaller size because the hip belt has to close properly; wider hips favor the larger one. The torso adjustment then closes the remaining gap.
Match capacity to the trip you actually hike.
Capacity should be chosen for the trip you take most often, not the biggest trip you can imagine. Day hikes generally land between 20 and 30 liters, overnights between 30 and 50, weekends between 45 and 60, and longer trips with bulky gear between 55 and 70. A 30-liter pack is not too big for a day hike—it is the crossover volume, well suited to long, cold, or gear-heavy days, and simply oversized for a two-hour walk in mild weather.
Capacity is a storage decision, separate from the fit decision. Liters say nothing about how the pack behaves under weight, and a pack that is much larger than the load it carries encourages sloppy packing and extra kilos. Fitting guides commonly suggest leaving about 10 percent headroom rather than 30, so the load stays compact against your back.
Backpack size chart in liters
| Trip type | Capacity | What it typically holds |
|---|---|---|
| Short day hike | 10 to 20 L | Water, snacks, a layer, a small first aid kit |
| Full-day hike | 20 to 30 L | Rain shell, insulation, several liters of water, food, camera |
| Overnight | 30 to 50 L | Sleep system, stove, food, spare clothing |
| Weekend | 45 to 60 L | Two to three nights of gear, a bulkier sleep system |
| Multi-day or winter | 55 to 70 L | Bulky insulation, group gear, longer food carries |
Treat the rows as planning ranges rather than rules, and pick the smallest pack that holds your gear without hanging items off the outside.
Small hiking backpacks for short days
A small hiking backpack in the 10 to 20 liter range covers warm-weather walks where a liter of water, a shell, food, and a phone are the whole list. It stops being enough when the list grows: winter layers, several liters of water, camera gear, or supplies for a child. Moving up to 25 or 30 liters costs little in weight and gives room for gear you can justify rather than gear you might need.
How to wear a hiking backpack properly
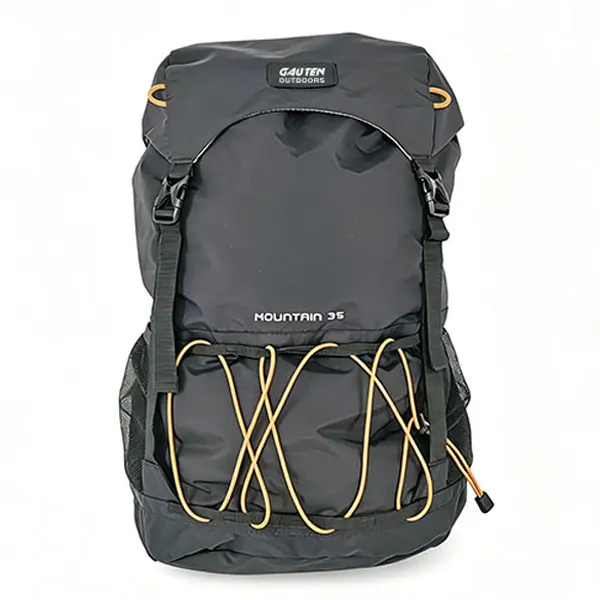
Set the hip belt first and let it take the load. Published fitting guidance puts 60 to 80 percent of a loaded pack’s weight on the hips, with the shoulders stabilizing rather than carrying. Fix the belt on the iliac crest, then tighten the shoulder straps, then the load lifters to roughly a 45-degree angle, and finish with the sternum strap at light tension. Changing that order is the most common reason a pack that felt good in the shop hurts by mile five.
The full sequence, done with the pack at trail weight:
- Hip belt. Fasten it and tighten until the padded wings sit centered on the hip bones. Snug, not crushing.
- Shoulder straps. Pull down and back until the straps wrap the curve of your shoulders without gapping and without lifting the pack off your hips.
- Load lifters. Tension these small straps until they angle back toward the pack body at about 45 degrees. Stop before the straps wrinkle.
- Sternum strap. Set it across the chest and tighten only enough to stop the shoulder straps sliding outward.
- Hip belt stabilizers, where the model has them, to pull the lower pack body in against the lumbar area.
- Walk, then re-adjust. Take the pack for twenty minutes loaded, then correct whatever has shifted.
Load it before you judge the fit.
An empty pack hides a bad fit. Published fitting advice is consistent on this point: put real weight in before evaluating anything, since the shoulder straps only reveal whether they are stabilising or carrying once the load is there.
| Check | Correct state | What the wrong state means |
|---|---|---|
| Hip belt position | Padding centered on the iliac crest | Belt on the waist puts weight on the soft abdomen instead of bone. |
| Shoulder strap anchors | 1 to 2 inches below the top of the shoulders | Higher means the torso length is too long for you. |
| Shoulder straps | Contact across the shoulder, no gap, no bunching | A gap means the torso is too short; bunching means too long. |
| Load lifters | Roughly 45 degrees to the pack body | “Flat” suggests the pack is too long; “steep” suggests it is too short. |
| Pack bottom | No more than four inches below the waistline (Purdue Extension guidance) | Hanging lower means the suspension is not reaching your hips. |
| Weight feel | Pressure on the hips, shoulders free | Any pull backwards on the shoulders points to a hip belt that is too loose or too high |
Women’s, men’s, and kids’ fits are not just smaller versions.
Gender-specific packs change the harness geometry rather than the color. Women’s models use a shorter torso range, straps set closer together with a pronounced curve, a higher sternum strap, and a hip belt shaped for a wider hip-to-waist ratio. Men’s models run a longer torso range with wider strap spacing. Kids’ packs scale the same logic down and add one hard limit: total load should stay within about 15 percent of the child’s body weight.
Hiking backpacks for women
Torso length is the main difference. Published average figures put women at roughly 42 to 48 cm against roughly 46 to 52 cm for men, so a pack built for a longer torso rides too tall, pushes the hip belt above the hips, and dumps the load onto the shoulders. Shoulder straps on women’s models curve outward and attach closer together, which keeps them seated on narrower shoulders without rubbing the inside edge. The sternum strap sits higher, at or above the bust line, to avoid pressure across the chest. Hip belts are shaped and angled to wrap the iliac crest rather than sit flat and slide.
Hiking backpacks for men
The mirror image applies. Men’s packs cover a longer torso band, the shoulder straps attach at a wider spacing, and sternum straps sit lower across the chest. Capacity ranges for comparable models often run one step larger, though that is a market convention rather than a fit requirement. A shorter-torsoed man is usually better served by a women’s or unisex model that actually matches his measurement.
Hiking backpacks for kids
Measure a child’s torso the same way you measure your own, then match it to the chart instead of buying by age. Rough planning ranges used across the category run from about 5 to 10 liters for a young child carrying water, a snack, and a layer; 10 to 18 liters for most school-age children; and up to 25 liters or more for older children who genuinely need the space. The American Academy of Pediatrics advises that a child’s loaded backpack should not exceed 15 percent of body weight, and uneven ground and longer wear time push that limit down rather than up. Adjustable torso lengths extend a pack’s useful life by several years, and a 1.5-liter bladder is the common size for children.
Features that matter on the trail
The features worth their weight are the ones tied to load transfer and access: a padded load-bearing hip belt, a ventilated back panel, a hydration sleeve that holds the reservoir against the back panel, and compression straps that tighten a part-full pack. The rest is personal preference.
Hiking backpack with water bladder
A hydration-compatible hiking backpack needs four things. The sleeve must hold the reservoir flat against the back panel because water is heavy, and weight carried away from the spine pulls the pack backwards and tips the wearer forward. A hanger loop at the top keeps the bladder upright as it empties, which prevents it folding over and blocking flow. Hose ports on both sides let the tube route over whichever shoulder the user prefers, and a keeper on the shoulder strap stops it swinging. Ideally the sleeve is separate from the main compartment, so a leak stays away from electronics and clothing.
Capacity choice follows the same logic as the pack. A 1.5-liter bladder suits short outings and compact packs, 2 liters fits most daypacks, and 3 liters covers hot weather and long refill gaps, adding about 3 kg before anything else goes in. Above 15 liters of pack volume, that weight argues for a sternum strap and a proper waist belt.
Suspension, back panel, and hip belt
Suspension answers one question: how much structure the pack needs to move weight to your hips. A framesheet or internal stays hold the pack’s shape under load. Frameless packs work well below roughly 10 kg and get uncomfortable past it. Back panels split into two families—suspended mesh, which holds the pack away from the body and ventilates but adds bulk, and contoured foam, which sits closer, carries more stability, and runs warmer.
The hip belt is where the decision pays off or fails. A load-bearing belt is wide, padded, and connected to the frame. A thin webbing strap that only wraps around the waist transfers no vertical load at all; it stops the pack swaying and nothing more.
Fabric, weather resistance, and hardware
| Element | Lighter specification | Harder-wearing specification | Choose by |
|---|---|---|---|
| Shell fabric | 210D nylon | 420D reinforcement at base and corners | Terrain with rock, bush, and pack-downs on wet ground |
| Coating | Light PU coating | Heavier coating plus taped or protected zippers | Expected rain hours per season |
| Base panel | Standard fabric | Abrasion-resistant, water-resistant base | How often the pack is set down |
| Rain cover | Sold separately | Included with the pack | Markets where buyers expect it |
| Fastenings | Standard zippers and buckles | Large-tooth zippers, quality buckles, reinforced anchors | Load weight and expected service life |
What the numbers on a spec sheet actually mean
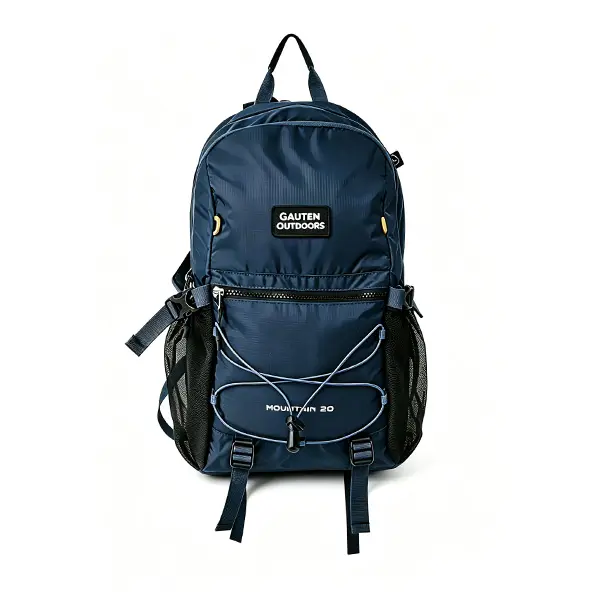
Liters and centimeters measure different things, and they never reconcile by multiplication. Liters describe enclosed usable capacity, measured by filling the compartments with a known volume. Centimeters describe the pack’s external footprint—width, depth, and height—which is what tells you whether it fits a carry-on frame, a locker, or a retail shelf. A 20-liter pack is not 20 liters of a box.
Backpack dimensions in cm are not capacity.
A pack is not a rectangular box, so length times width times height will not give you a capacity figure. Published dimensions are usually taken flat with the pack empty and unexpanded, which is why they read smaller than the sealed compartments can hold once the pack is filled. Both numbers earn their place: liters tell a buyer what the pack carries, and dimensions tell a buyer where it goes.
Volume ratings follow a published test method. ASTM F2153, the standard test method for measuring backpack capacity, defines an unextended capacity measured with compression straps closed and an extended capacity with them released, and it excludes anything not fully enclosed by fabric—mesh pockets, water bottle holders, and compression panels do not count toward the total. When two packs of the same nominal volume feel different in use, that definition is usually why.
Reading the two numbers together is more useful than comparing either alone. The published figures below come from the spec sheets of three hiking models in one manufacturing range.
| Model | Capacity | External dimensions | Main material | MOQ |
|---|---|---|---|---|
| 20L Outdoor Hiking Backpack | 20 L | 27 x 11 x 44 cm | Polyester or customized | 300 pcs |
| 30L Outdoor Hiking Backpack | 30 L | 12 x 6.8 x 18.9 in (about 30.5 x 17.3 x 48 cm) | Nylon or customized | 300 pcs |
A third model in the same range, a lightweight nylon daypack, measures 24 x 13 x 41 cm. Read as a group, the pattern is clear: the 20-liter and 30-liter packs differ by roughly 4 cm in height and 3 cm in depth, not by anything a tape measure alone would reveal to a shopper.
Turning the size decision into a production brief
Every decision above becomes a line on a spec sheet: market, size run with torso ranges, capacity, expected maximum load, hydration configuration, hip belt class, back panel type, fabric and coating, hardware grade, branding method, and packaging. Put those on one page, and the sample stage turns into a confirmation step rather than a guessing game.
A workable brief covers:
- Size run. Torso ranges for each size and whether one adjustable harness is meant to span two sizes.
- Capacity. Nominal liters for each size, plus the intended maximum load in kilograms.
- Carrying system. Padded load-bearing hip belt or stabilizer strap, frame sheet or frameless, suspended mesh or foam back panel.
- Hydration. Sleeve position, reservoir size, hose port configuration, insulated sleeve or not.
- Fabric and finish. Denier, coating, base reinforcement, and rain cover inclusion.
- Hardware: Zipper and buckle grade, strap widths, and reinforced anchor points.
- Branding and packaging. Logo method, label format, hangtags, and retail packaging requirements.
Most of this is settled in the sample. Standard practice across the category runs to a sample in around 5 to 10 days and bulk production in 45 to 50 days, with minimum order quantities from 300 pieces for a new collection or a market test. The earlier the size run and load target are fixed, the fewer revisions land at the sample stage.
FAQ
How often should the fit be rechecked?
After the first loaded walk, then whenever the load changes by more than a couple of kilograms. Clothing thickness matters too—a pack set up in a summer shirt will sit differently over a winter jacket, and the torso adjustment may need to move one notch.
Are hiking backpacks waterproof?
Most are water-resistant rather than waterproof. Coated fabric and protected zippers handle rain and abrasion, but sustained rain will find seams and openings. A rain cover, a pack liner, or dry bags inside the main compartment keep the contents dry, and any of the three is more reliable than fabric claims alone.
Does pack weight matter more than capacity?
Neither number decides comfort on its own. Empty weight matters most on short trips with light loads, while a slightly heavier pack with a proper frame and a load-bearing hip belt usually carries far better once the load passes roughly 10 kg. Weigh the pack against the load you plan to carry, not against the pack next to it on the shelf.